


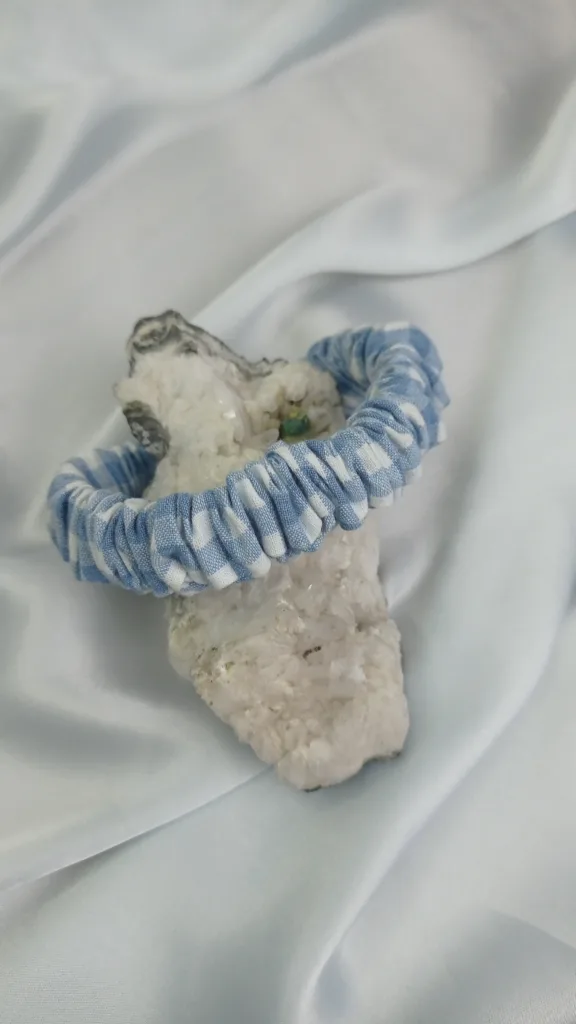
The skinny scrunchies are the perfect accessory to give a delicate and elegant touch to your hairstyle. In this tutorial step by step, you will learn to do it easily and quickly. Sew your own fine necks with beautiful fabrics and personalize your style!
- Sewing materials Skinny scrunchie
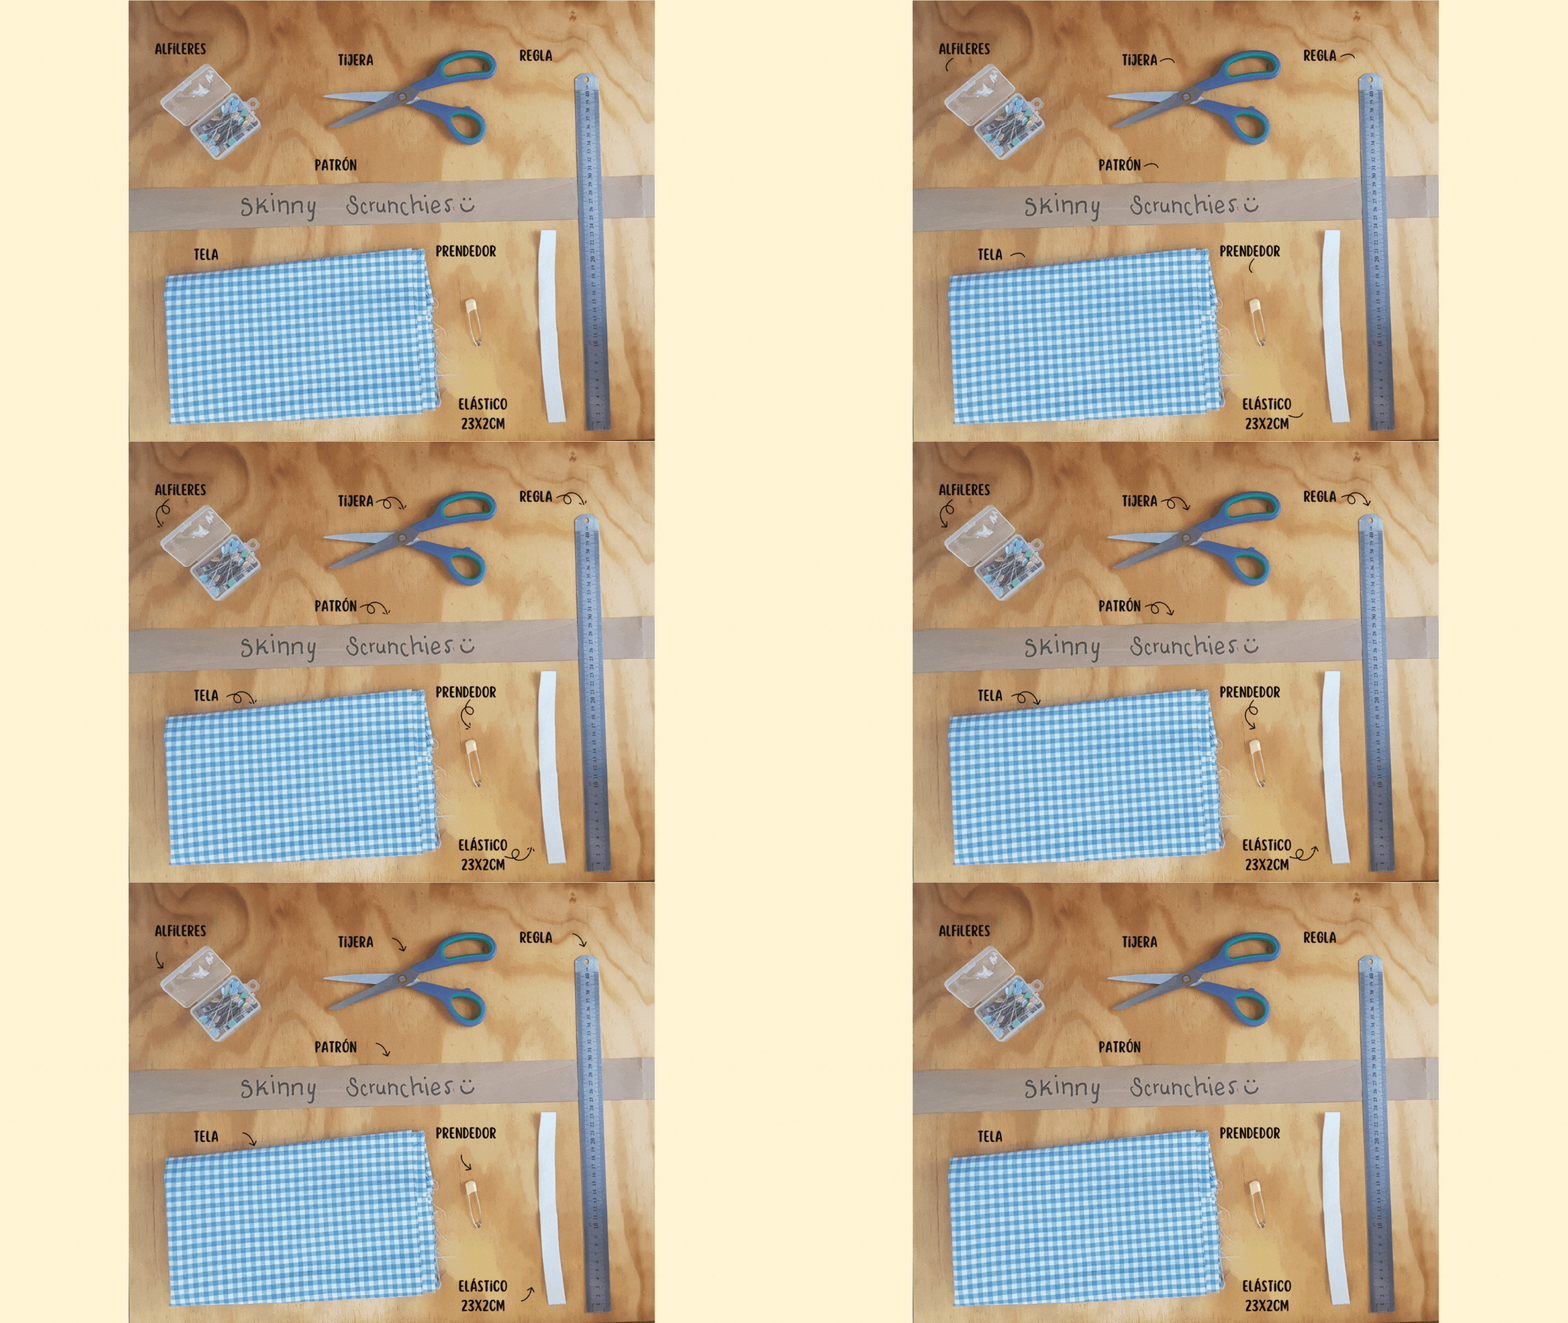
With these materials, you'll be ready to start creating your own Skinny scrunchie. Enjoy the process and the results!
- Cotton fabric of 65 × 5 cm
- 15 cm elastic
Sewing tools
- The color of the fabric.
- Scissors
- Poultry
- Pensor / imperable
- Sewing machine
- Iron
Step by Step to Do the Skinny scrunchie.
1. Cut the fabric
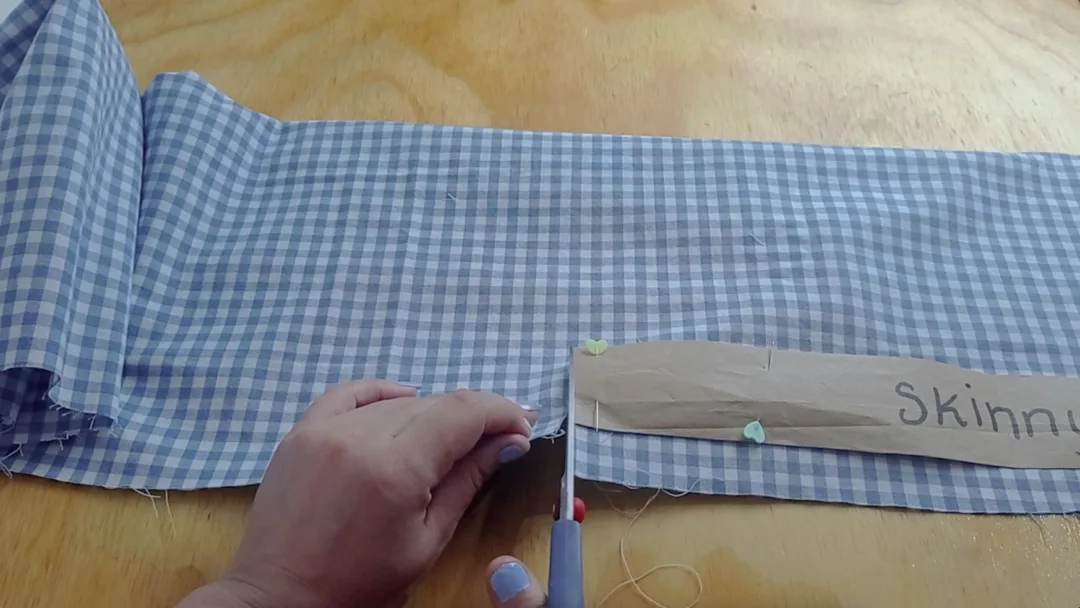
Cut a fabric strip 65 cm long by 5 cm wide.
2. Doblar and Coser
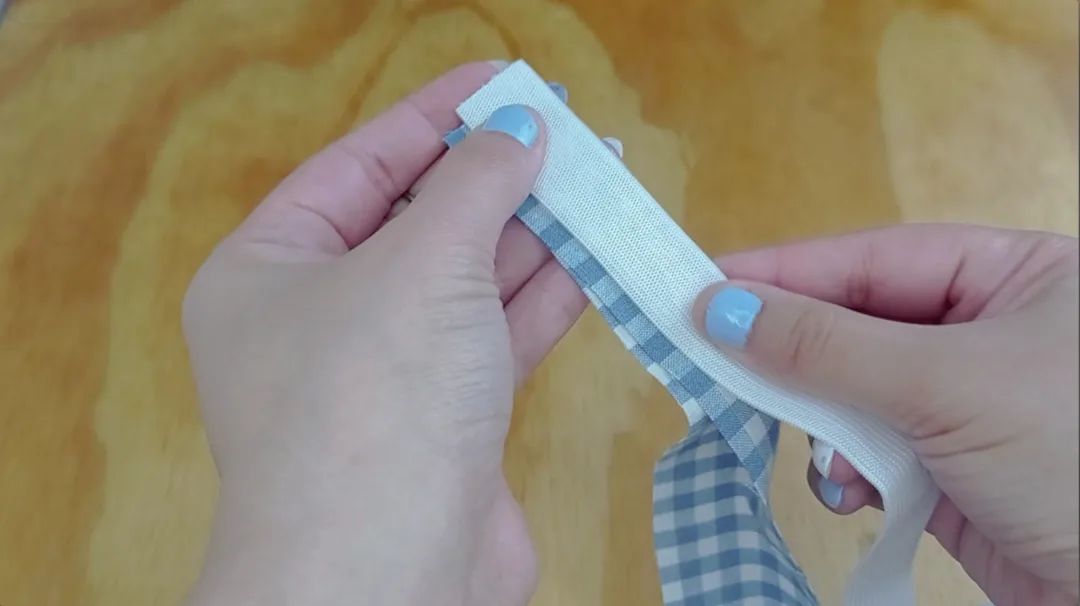
Bend the fabric in half along, with the right sides facing, and sew along the edge leaving an inch seam margin. Use a straight stitch.
3. Turn the Tape
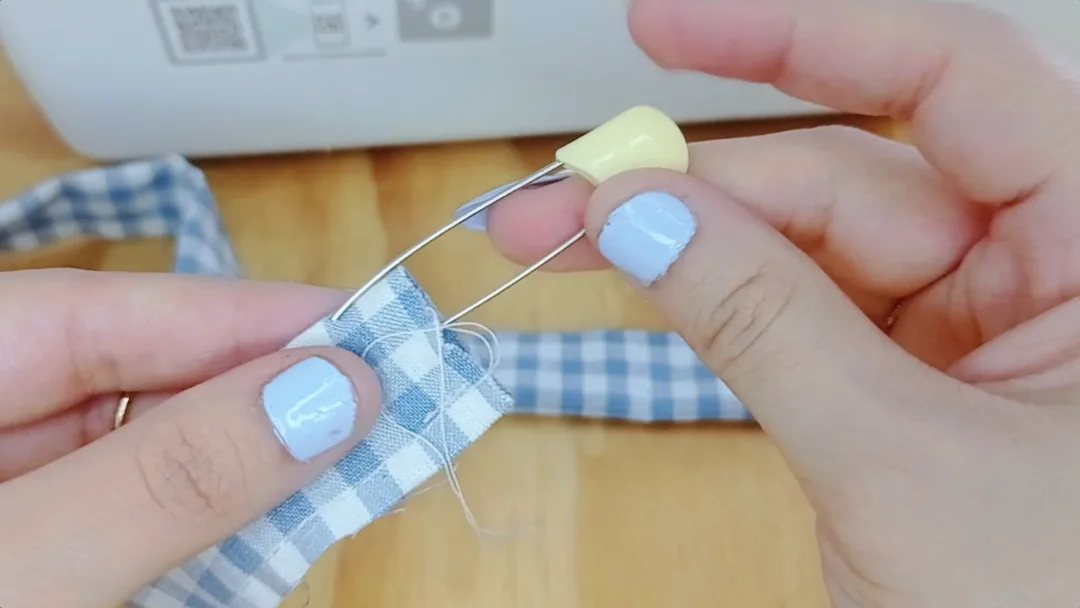
Use an imperable to turn the fabric upside down and leave the right side visible.
4. Insert the Elastic
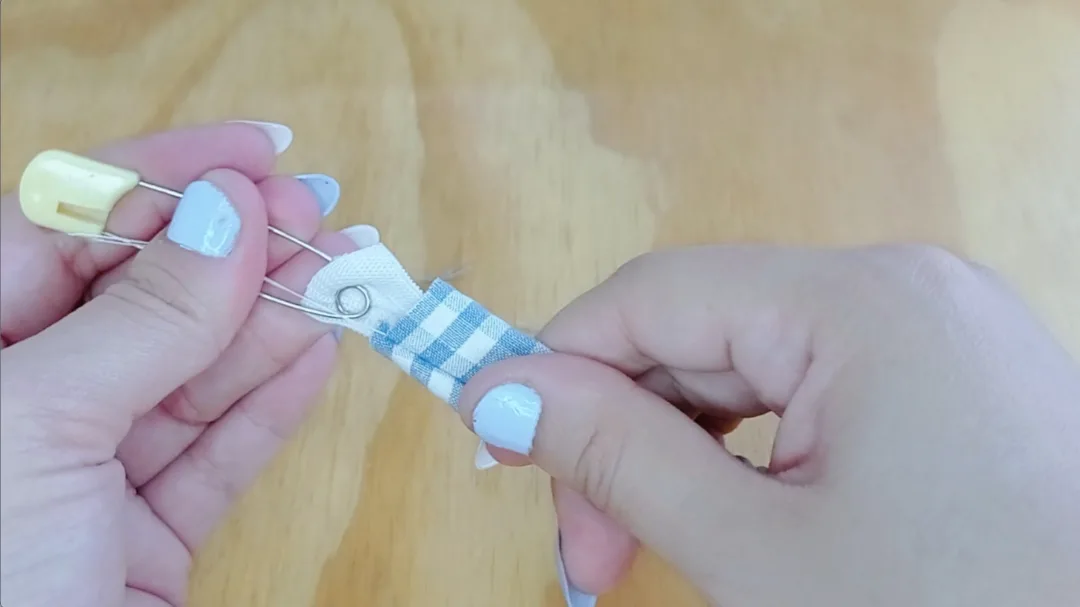
With the help of the imperable, insert the elastic into the fabric tube and sharpen it according to the desired tension.
5. Unite the Elastic
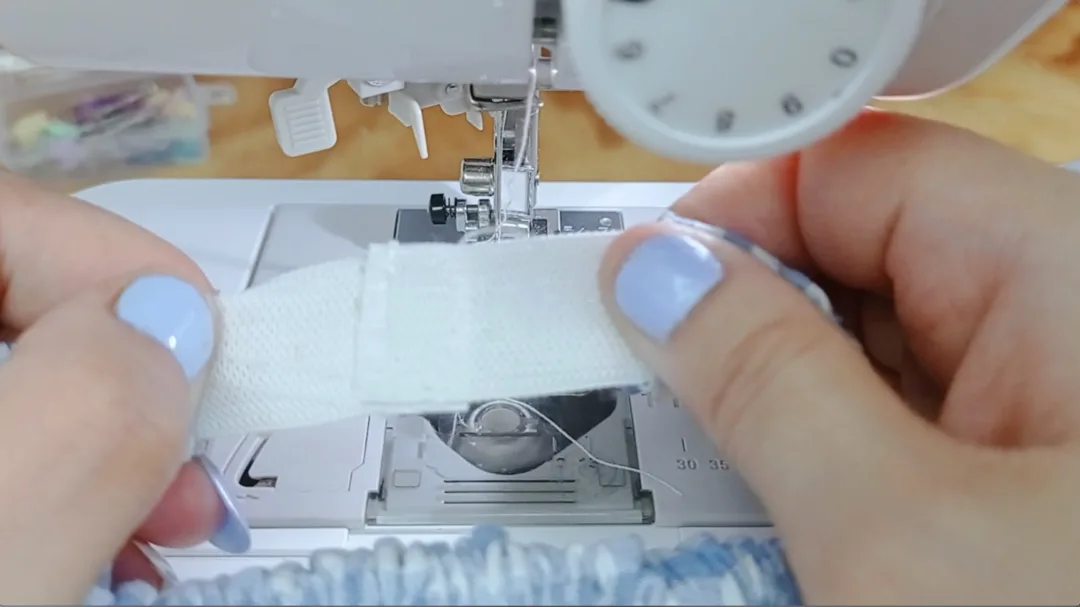
Unite the ends of the elastic with a straight seam on each side to ensure it well.
6. Close the Scrunchie
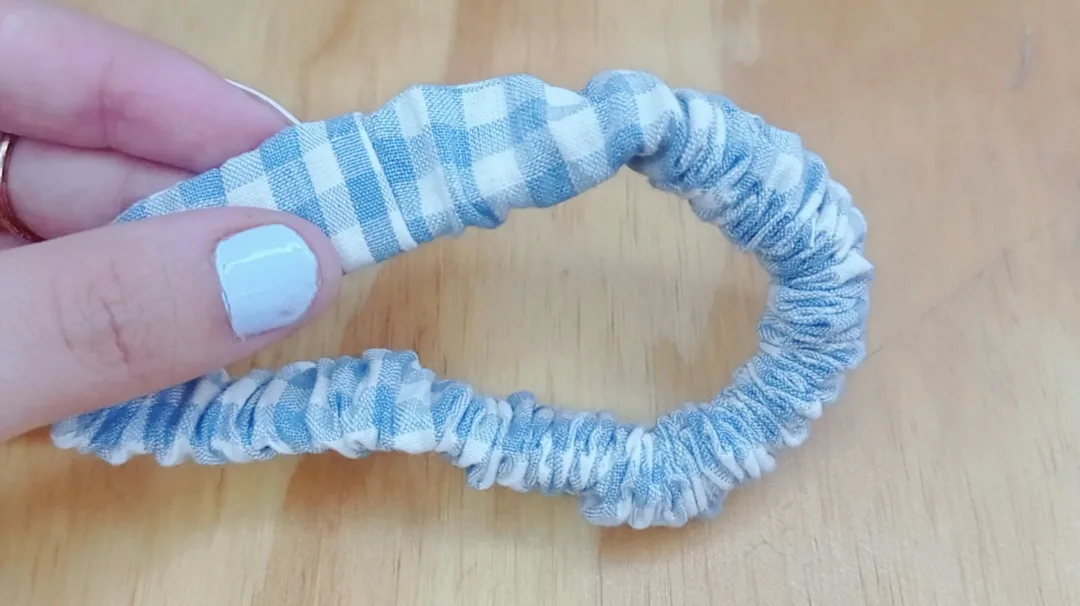
It bends the ends of the fabric inwards and passes a straight seam to close the scrunchie prolija.
🎥 Video tutorial step by step by Skinny scrunchie
👇🏽Click here to watch the video
✅Final Tips to Perfect Your Individual Mantle:
Now that you have learned to make your own skinny scrunchies, experience with different fabrics and colors to create unique accessories.
📷 Share your social networking with the hashtag # SkinnyScrunchieDIY and follow our blog for more sewing tutorials.
📍Subscribe to our mailing list to receive more free patterns, tutorials and exclusive tips that will inspire you to continue creating. ✂️🧷