


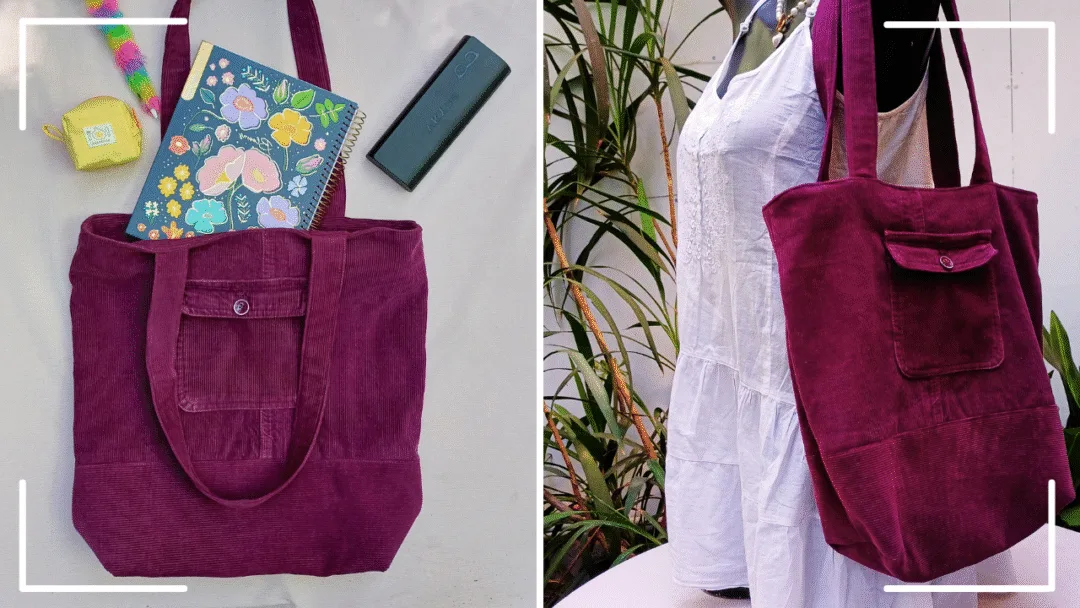
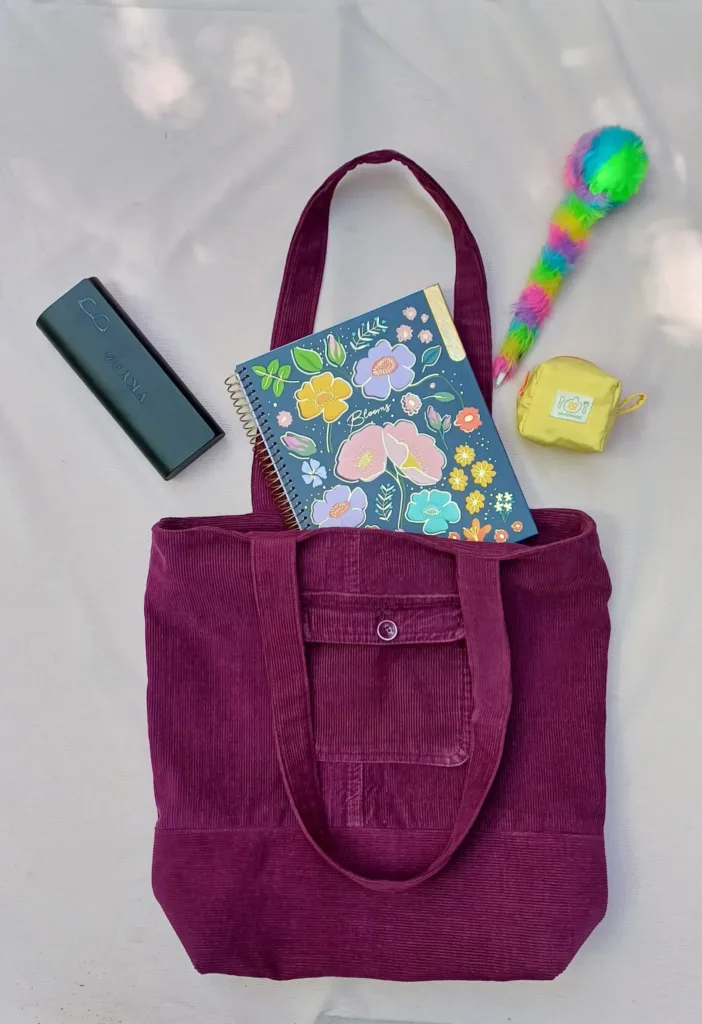
You want to turn a forgotten trouser into a history accessory? This tutorial of tote bag upcycling It teaches you how to reuse disused clothes to create a functional, aesthetic and sustainable bag. Whether you are a beginner or an expert, this project invites you to explore your creativity and give new life to your materials.
In this article you will find everything you need to sew your own cough bag from scratch:
✅ Step by step tutorial with clear and detailed instructions.
✅ Video on YouTube to follow each stage visually.
✅ Free pattern downloadable to facilitate the process.
🧰 Materials and tools for sewing a Tote Bag Upcycled
With these materials you will be ready to transform an old pants into a sustainable and stylish bear bag. Whether denim, gabardina or corderoy, this project invites you to reuse with creativity♻️.
- Old pants (corduroy, denim, or gabardine)
- Fusible interfacing
- Lining fabric (for inner and main pocket)
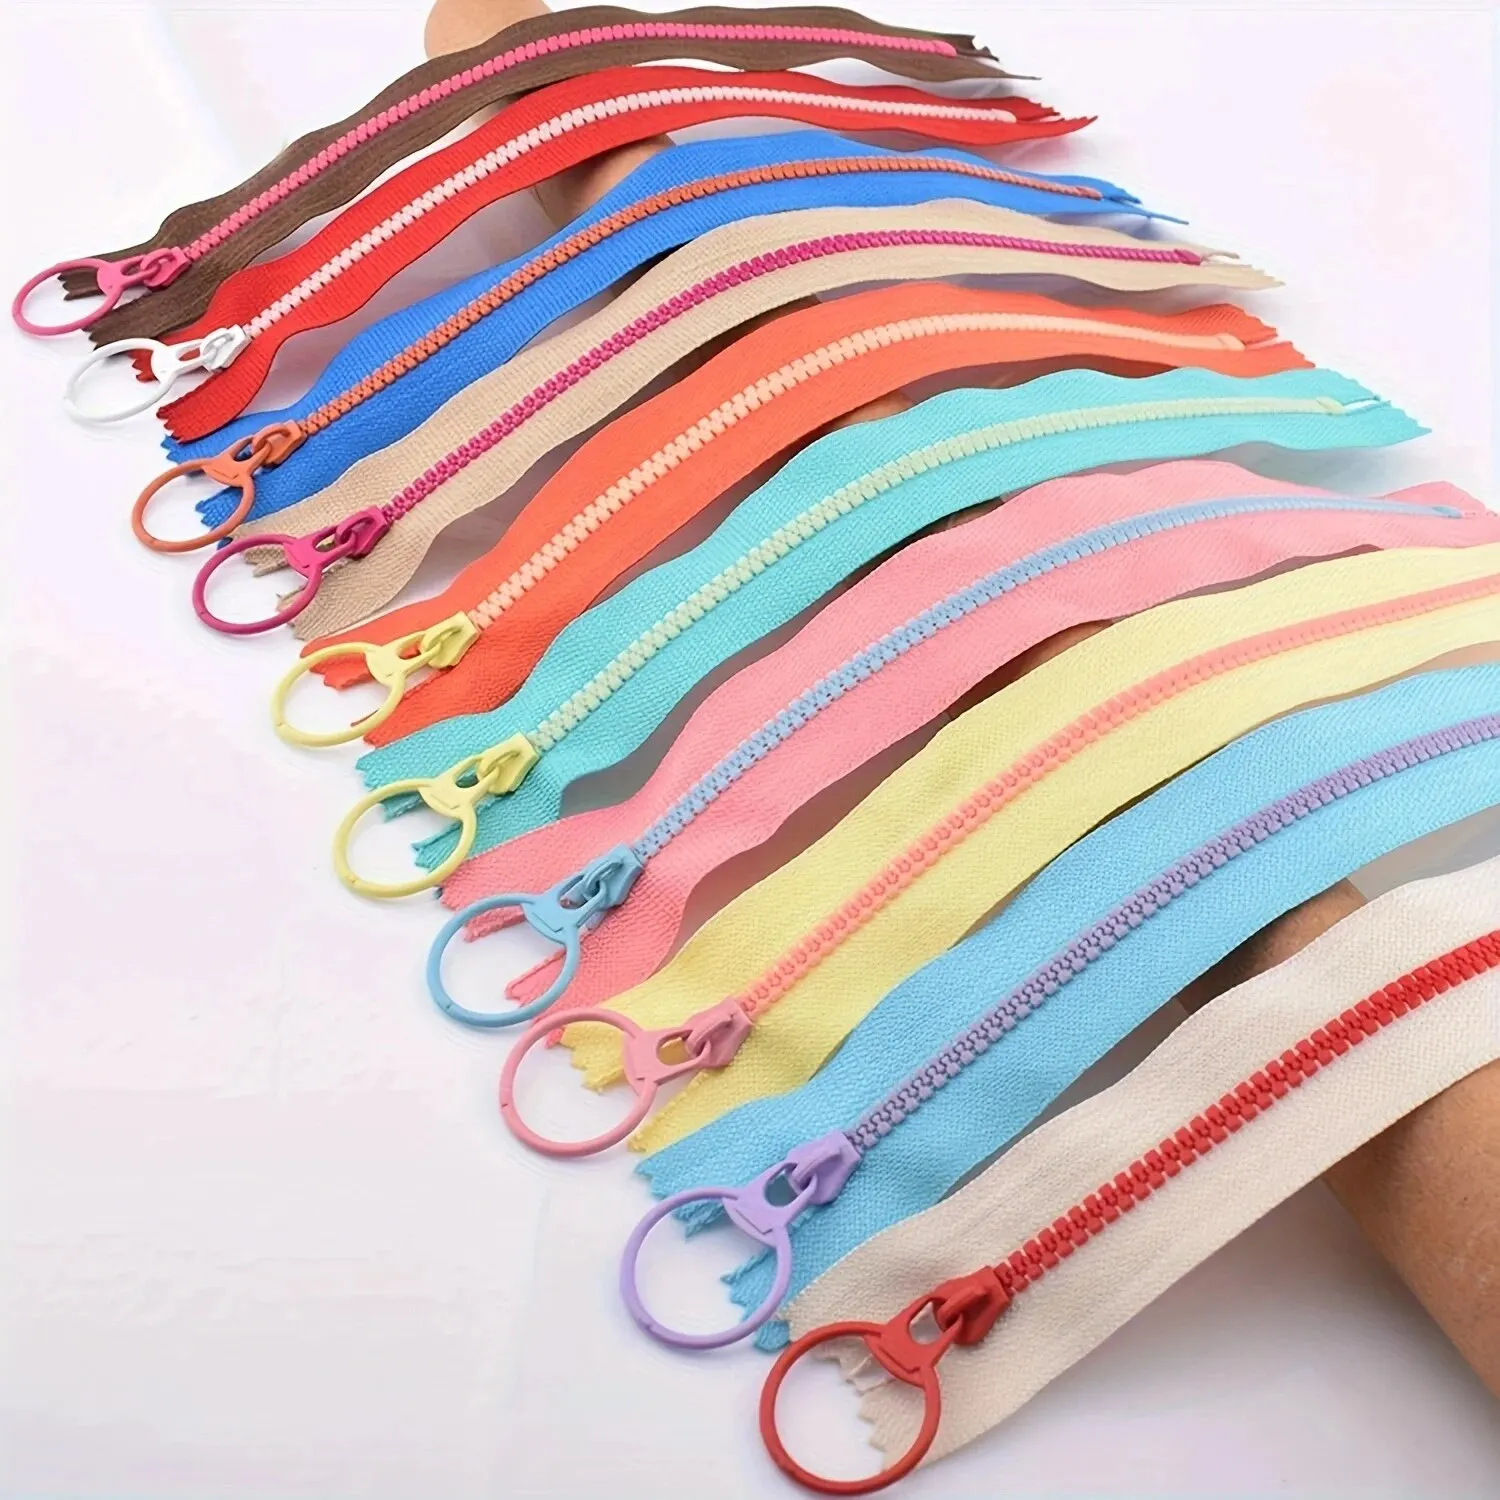
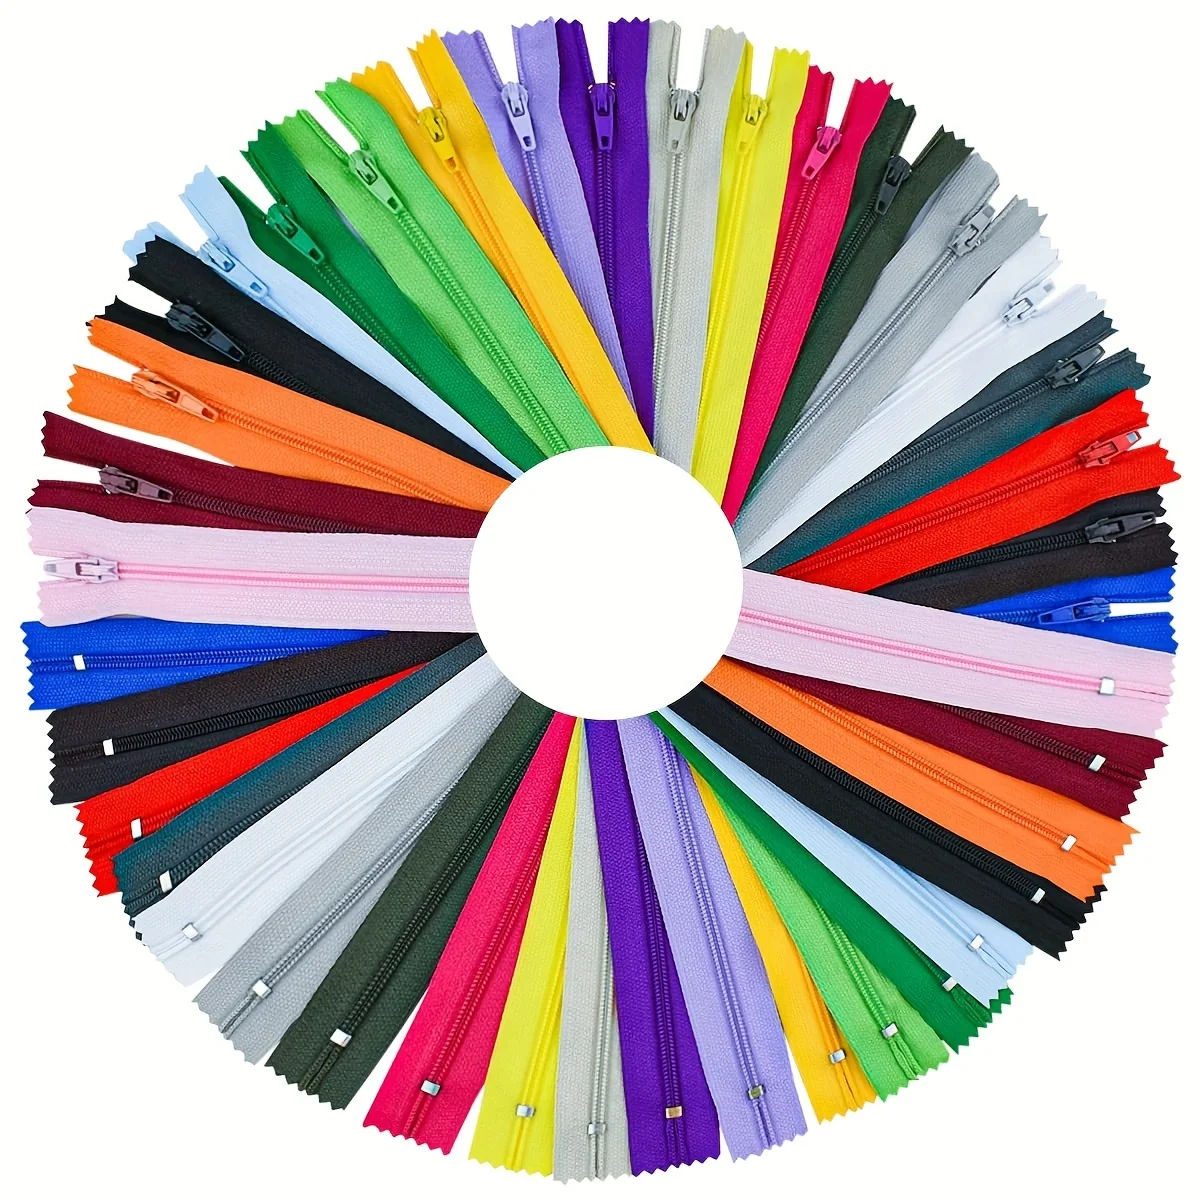
- Zippers: 20 cm and 30 cm lengths
- 1 swivel hook (15 mm)
Sewing tools
- The color of the fabric.
- Eraser or chalk
- Scissors
- Ruler
- Pins and clips
- Seam ripper
- Zipper foot
- Sewing machine
- Iron
🧰 Tools I used in this project
These are the tools and materials I used in this tutorial. Some links are affiliated, which means that if you buy through them, you help me continue to create content at no extra cost to you. Thank you for your support! 💛

🏮Additional tips:
- I learned to put it on. to give your mole bag more stability and get a professional finish.
- Add internal and external compartments to better organize your objects and add functionality to the design.
- I found out how to take advantage of the pantslike pockets, to add character to the bag.
Step by Step to Do the Tote Bag
Selection of pants
- I chose a corderoy pants or jeans in good condition, ideal for its texture and strength. It's important that it's straight or wide., since these models allow better use of the fabric for the bag.
- Cut through the interior seams to take advantage of the fabric flat.
Preparation of parts
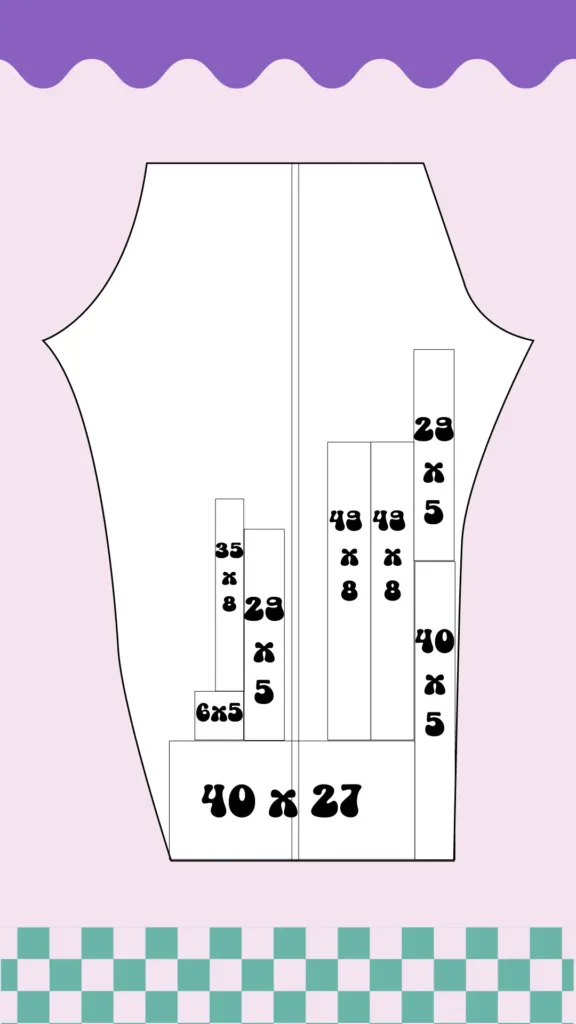
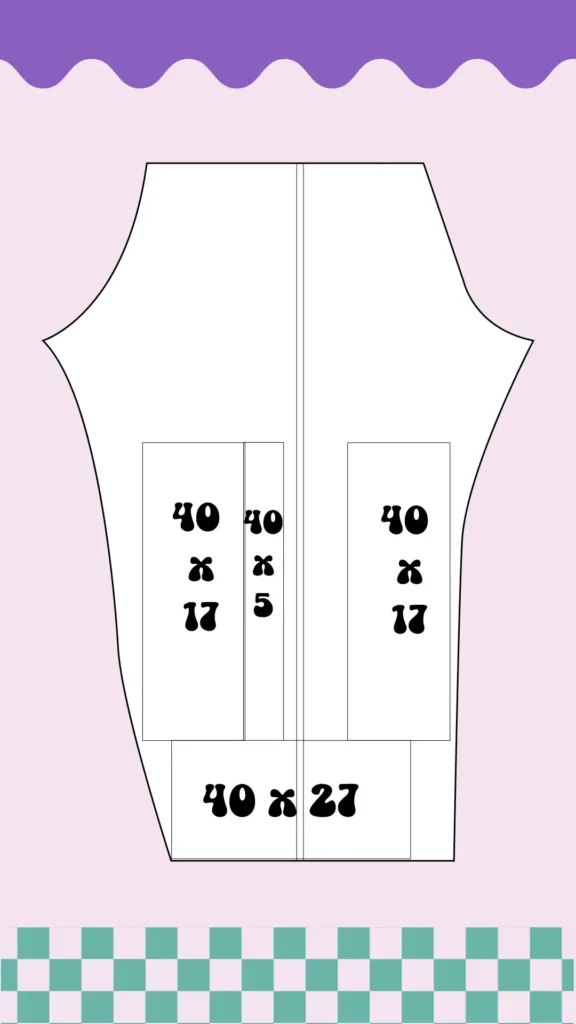
Once you have the flat fabric, it will mark and cut the pieces according to the pattern.
- 2 pieces 40 x 27 cm
- 2 pieces 40 x 17 cm
- 2 pieces 40 x 5 cm
- 2 pieces of 29 x 5 cm
- 1 piece 6 x 5 cm (closing)
👜Handles
Tote bag handles can be adapted to the type and amount of fabric you have, provided they are comfortable and functional. In my case, I had to join three pieces of fabric to reach the desired length, but the important thing is that each strip has yes or yes 8 cm wide, since that size facilitates the bending and gives a good finish to the final result.
- 2 pieces of 49 x 8 cm
- 1 piece 38 x 8 cm
✂️ Remember that all measurements are expressed in centimeters (cm)
✂️ Lining and Interfacing Measurements
These are the recommended measurements for each part of the mole bag. You can adjust them according to the size of the pants you're reusing.
Main lining
- 2 pieces 40 x 38 cm
- 2 pieces 40 x 5 cm
- 2 pieces of 29 x 5 cm
- 1 piece 40 x 20 cm (inner pocket)
- Card: 20 x 12 cm
- Caraway: 6 x 5 cm
Interface
- 2 pieces 38 x 25 cm
- 2 pieces 38 x 15cm
- 2 pieces 38 x 3 cm
- 2 pieces 27 x 3 cm
Assembly of the body of the bag
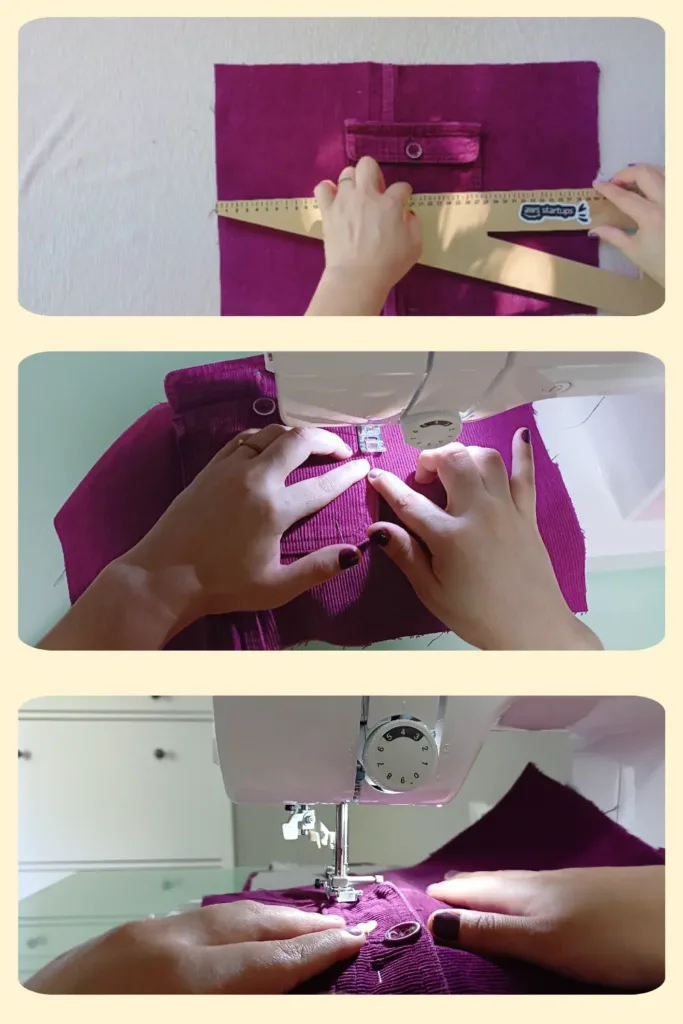
Take the main piece of fabric from 40 cm x 27 cmwhich will be the front of the mole bag. Next:
Place your pocket in the center of this piece. Use a rule to make sure it is well aligned both horizontally and vertically.
Hold it with pins or tweezers to keep it in place while sewing it.
Sew the three sides of the pocket: left, lower and right. If your design includes a cap (also called flap), ensure that you also sew your upper edge to set it correctly.
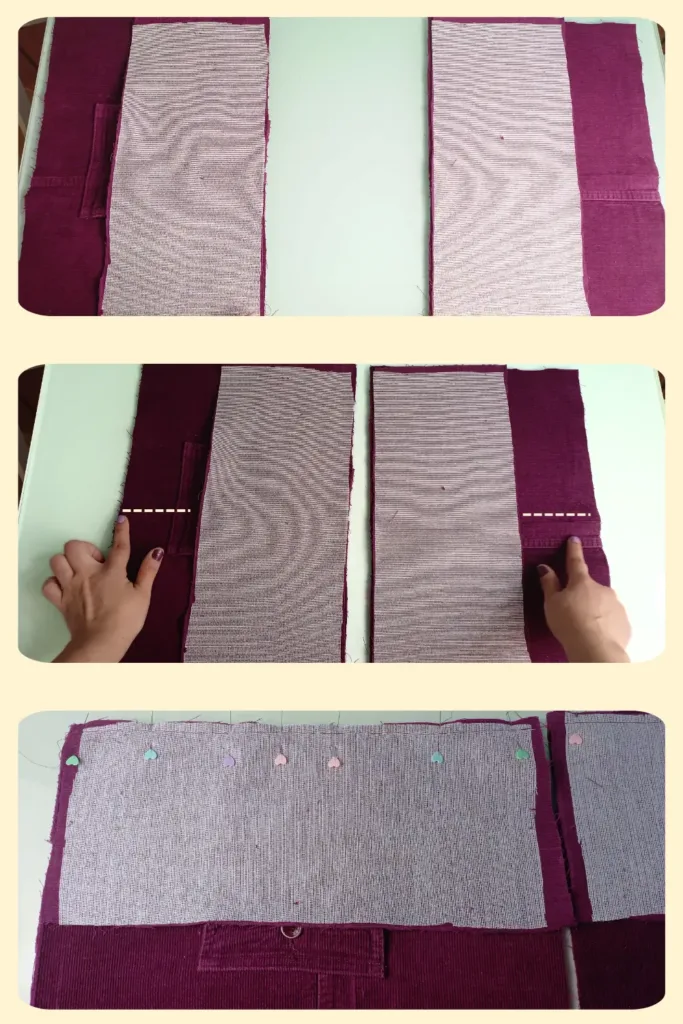
Take the main piece of 40 × 27 cm and face it right with right with the piece of 40 × 17 cm, which will be the bottom of the front of the coat bag.
Alinate the lower edges and hold with pins or tongs to keep the fabric in place, making sure that the original seams of the pants match perfectly
Cose a 1 cm seam margin along the edge, making sure you keep a straight line for a prolijo finish.
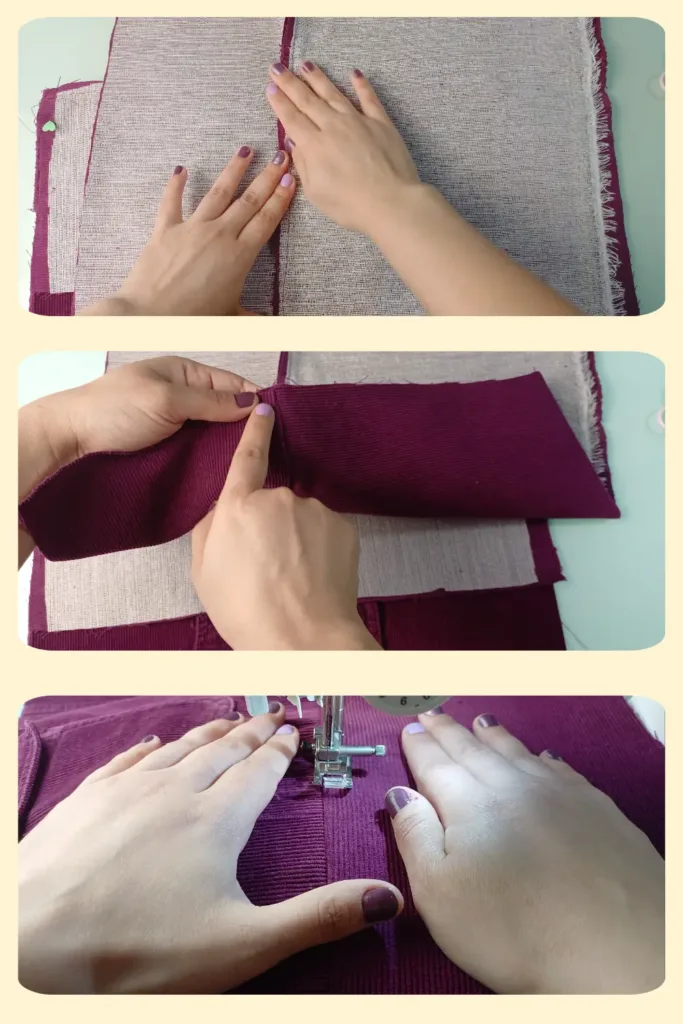
Once the pieces are attached, the seam is set by gently pressing with the fingers down, following the direction of the fabric. Then, perform a seam of reinforcement to 3 mm edge, on the side of the lower piece, to ensure firmness and give a more professional finish.
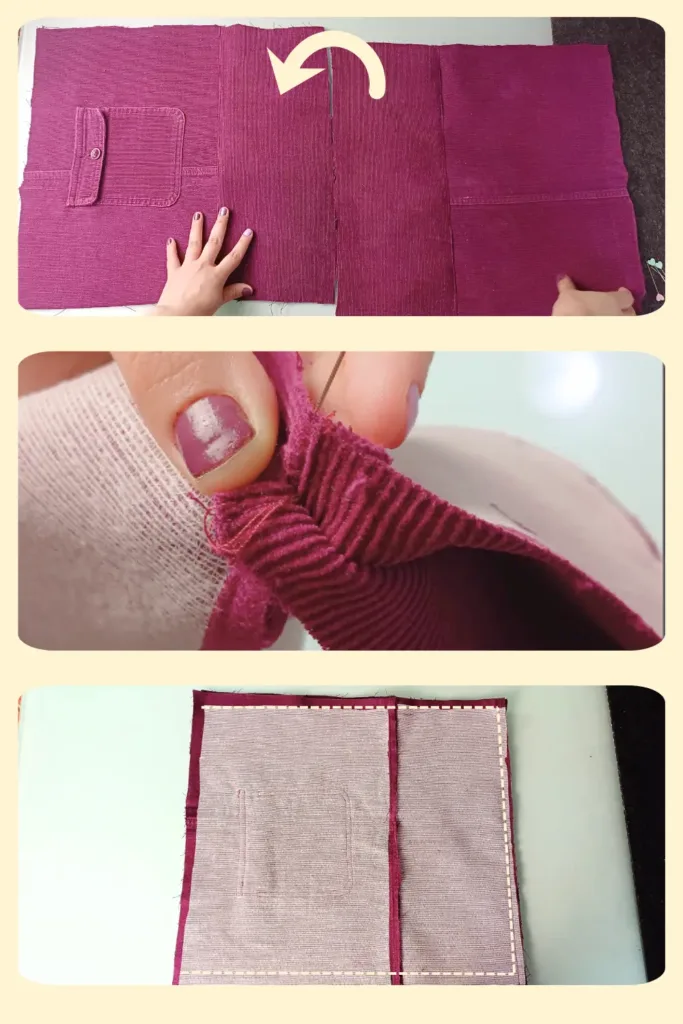
It covers the right-hand pieces of fabric and sews at 1 cm from the edge, leaving the top unsewed. Make sure that the unions match to achieve a clean and professional finish
Functional compartments for your Tote Bag
In addition to the main body of the bag, internal compartments are key to adding functionality and giving a unique touch to the design. In this video I show you how I created every detail inside the ote bag: the card, the carrier and the handles.
The tutorial is explained step by step, with subtitles and a home and accessible style, ideal if you want to add organization and personality to your upcycling project.
Look at the full video here: How to make a TOTE BAG with Compartments | Cora Martz
Zippered interior pocket for bags and purses
Learn how to make a inner pocket with zipper, perfect to add security and organization to your bags, portfolios or tote bags.
In this tutorial, I’ll show you step by step how to install the zipper, assemble the pocket, and apply sewing tricks to achieve a clean and professional finish.
Look at the full video here: How to make a TOTE BAG | Zipper / closing bag for bag or portfolios
How to put a zipper on your top step by step bag
You want your mole bag to be closed and safer? In this tutorial I teach you how to do it by simply incorporating a zipper. A closed coat is ideal to protect what you carry inside, especially if you use it on a daily basis.
▪ If you do not want to place the closure, prepare the 40 × 5 cm piece and cook it directly to the main lining of the bag.
Look at the full video here: UPCYCLING: How to make a BAG TOTE with Zipper | Cora Martz
Full Tutorial: How to Make a Tote Bag with Compartments and Zipper
You want to see the whole process in one video? In this final tutorial I show you how to join each stage of the project: from the cutting of the pants to the complete armour of the coat bag with functional compartments and zipper. Ideal if you want to follow the step by step without interruption and achieve a unique, sustainable and well finished bag.
🧵 Includes:
- Cutting and preparation of parts with recycled fabric
- Armed from the body of the bag
- Placing of internal handles and compartments
- Zipper installation for safe closure
Perfect for beginners and upcycling lovers.
Look at the full video here: UPCYCLING | Transforms an Old Pants into a Tote Bag
🧵 Final tips to perfect your Tote Bag:
🔹 I chose hard and history fabrics: Denim, corderoy or recycled slices bring structure and character to your bag.
🔹 Each seam: A good ironing makes the difference in the final finish and facilitates the armed.
🔹 Use contrast thread or tone over tone: Depending on your style, you can highlight seams or make them invisible.
🔹 It will strengthen the handles: Double seam or X-top helps make your cough more durable.
🔹 Add unique details: Internal pockets, custom labels or embroidery can transform your robe into a special piece.
Now it’s your turn! Show us your version of the upcycled tote bag with a zipper!
📸 I shared your network project with the hashtag # MiToteConHistoria and connect with other people who love creative and sustainable sewing.
📍Subscribe to our mailing list to receive more tutorials, free patterns and exclusive tips that will inspire you to continue creating. ✂️🧷