


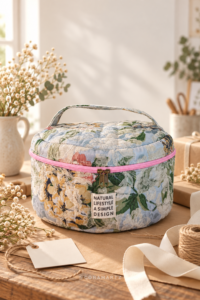
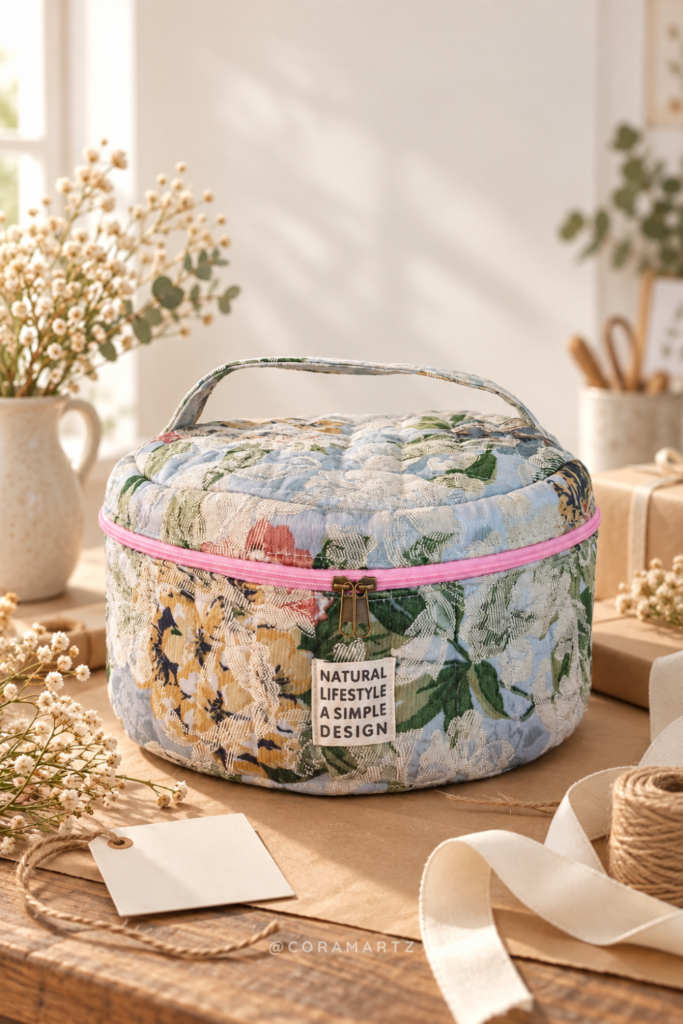
Are you looking for a practical, nice and perfect sewing project to give away (or give away!)? In this tutorial you will learn to sew a padded round need from scratch: with zipper, bie and that professional finish that makes it look bought, even though you did it yourself.
✅ Tutorial step by step explained in detail
✅ Video on YouTube to follow the whole process
✅ Free pattern
🧰 Materials and tools for sewing a Need Padded
Before I started, I gathered everything you're gonna need so you don't stop the process halfway:
- External fabric at choice [ej: cotton, gabardine]
- Guata / entertain
- Inner lining fabric [or vichy, if you do the variant]
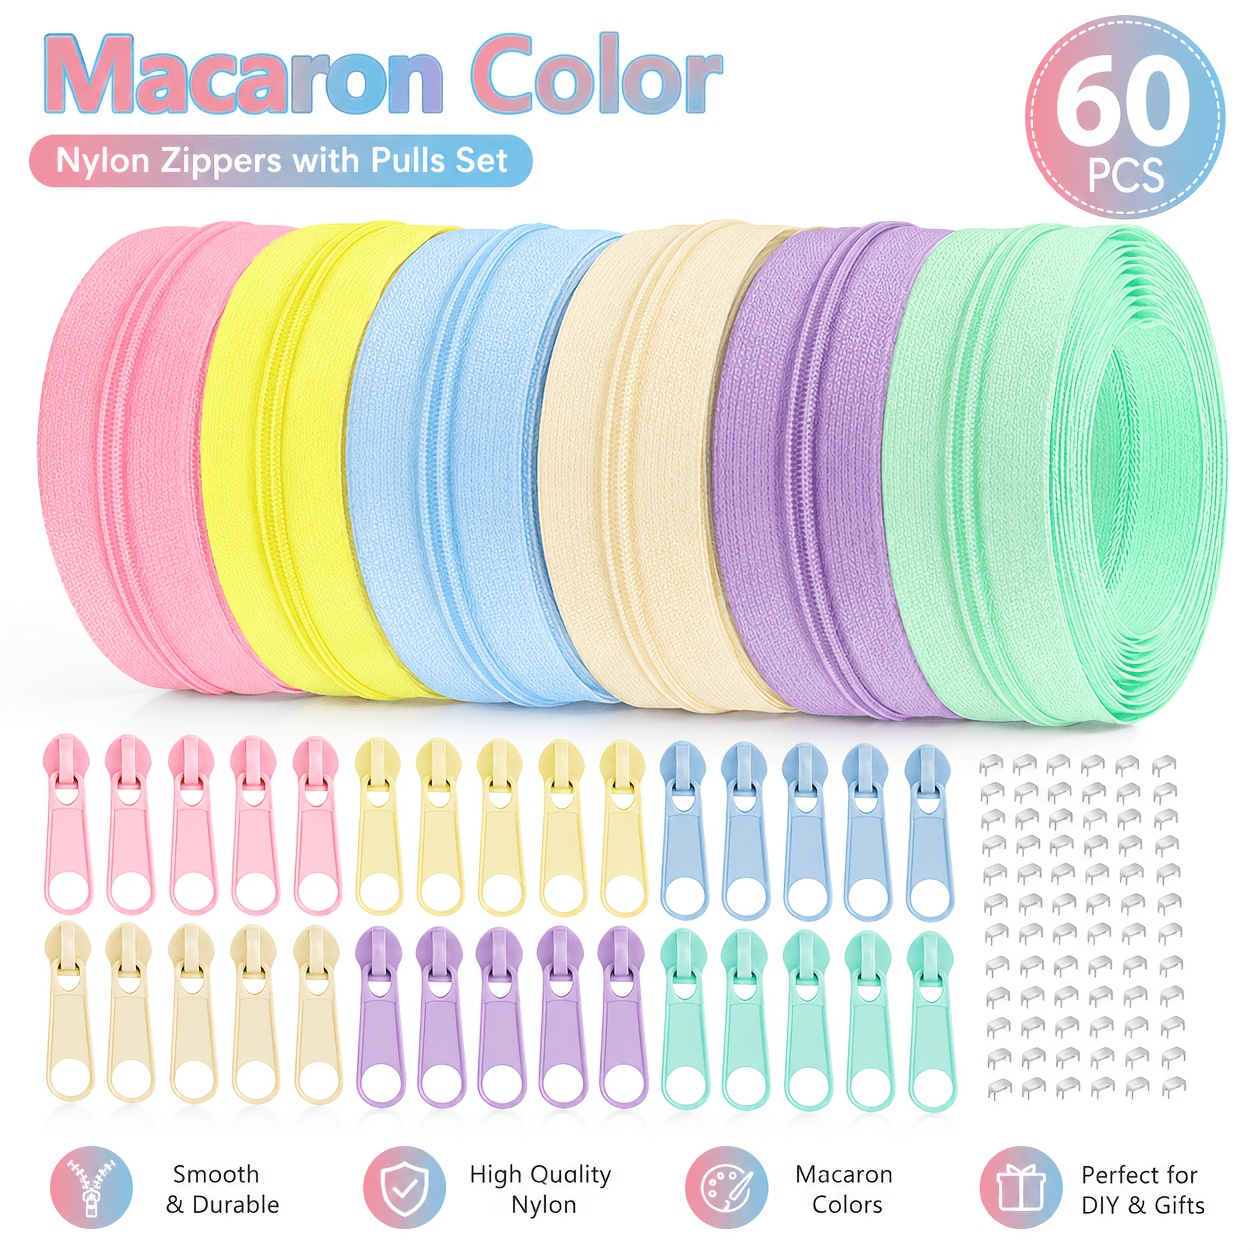
- Zipper per meter of 1 meter + 2 sliders
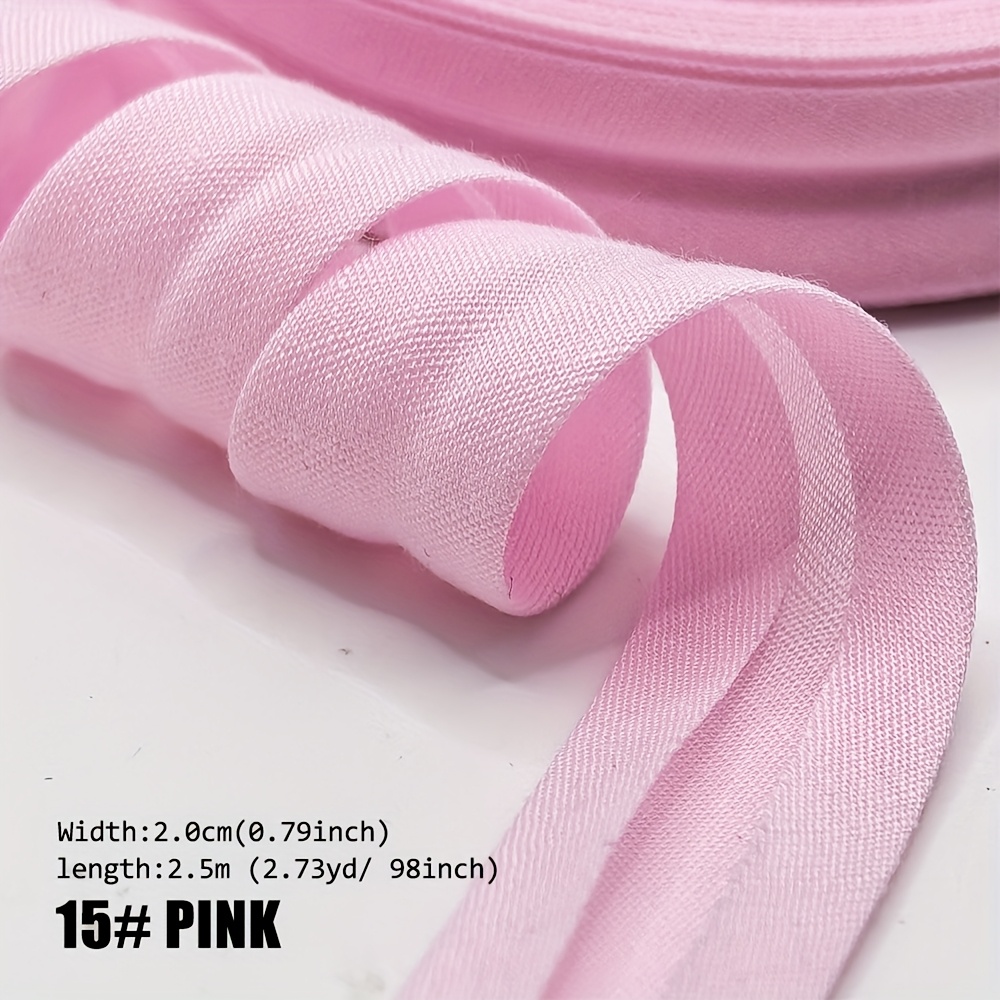
- Bies of 2.5cm to set or in contrast
- Label
- Thread to tone
✂️ Sewing tools
- Sewing machine
- Brush it for double-trawl closures and brace it
- Scissors
- Poultry or clamp
- Eraser or chalk
- Rule and compass, or a round dish / mold to draw the circle
- Iron
🧰 Tools I used in this project
These are the products and tools I used for this project. Some links are from affiliates, which means that if you buy through them, I receive a small commission at no extra cost to you. This helps me to continue to create free tutorials like this — Thank you for your support! 💛
💡Don't you know what to use?
When choosing the wadding for your need, the first thing to define is the thickness. Comes commonly in 3 mm, 5-6 mm, 1 cm and up to 2 cm. For a small project like this round need, a thickness of 0.5 cm to 1 cm is the right point: enough to achieve that visible padded effect, without becoming so voluminous that it makes it difficult to sew the curves. I used a 1 cm wadding, which gives a muffled and neat result without complicating the armed one.
You're also going to find Polyester (the most common, economic and washable) or cotton (more flat, it is less crushed over time, ideal if you prefer a more subtle padding). For a daily need, polyester is often the most practical option.
Traditional vs. thermoadhesive guata (fuse fleece): the key difference is how it is fixed to the fabric. The traditional wadding (like the one I used) must be turned on with pins or rolled before sewing, and can move a little while you work the curves. The thermoadhesive wadding, on the other hand, is mounted directly on the fabric and is instantly glued — it does not move or run, which is a huge advantage in a project with as many curves as this round need. In return, it usually gives a little less volume than a traditional wadding of the same thickness.
Which one is here? If it's your first need or it's hard to keep the curved pieces in line while seam, the thermoadhesive wadding will make the process very easy. If you already have practice and prefer to maximize the padding volume, the traditional 1 cm wadding (as I used) gives a more pronounced result.
Step by Step: How to Make the Necessary Padded Round
Before cutting, think about the combination of fabrics. A safe and very used combination in sewing is a main printing (for example, flooring) + a simple and geometric printing such as vichy (small pictures), fine stripes or small lunars — these «neutral printing» do not compete visually with the main print. What is necessary to avoid is to combine two equally charged or striking prints with each other, because there the eye does not know where to focus. It also avoids elastic fabrics for this project: by padding and sewing curves, a fabric with elasticity is deformed and makes it very difficult to achieve a joint finish. The ideal is a cotton of medium-high quality, with good body but without elasticity.
How to quilt the fabric with wadding
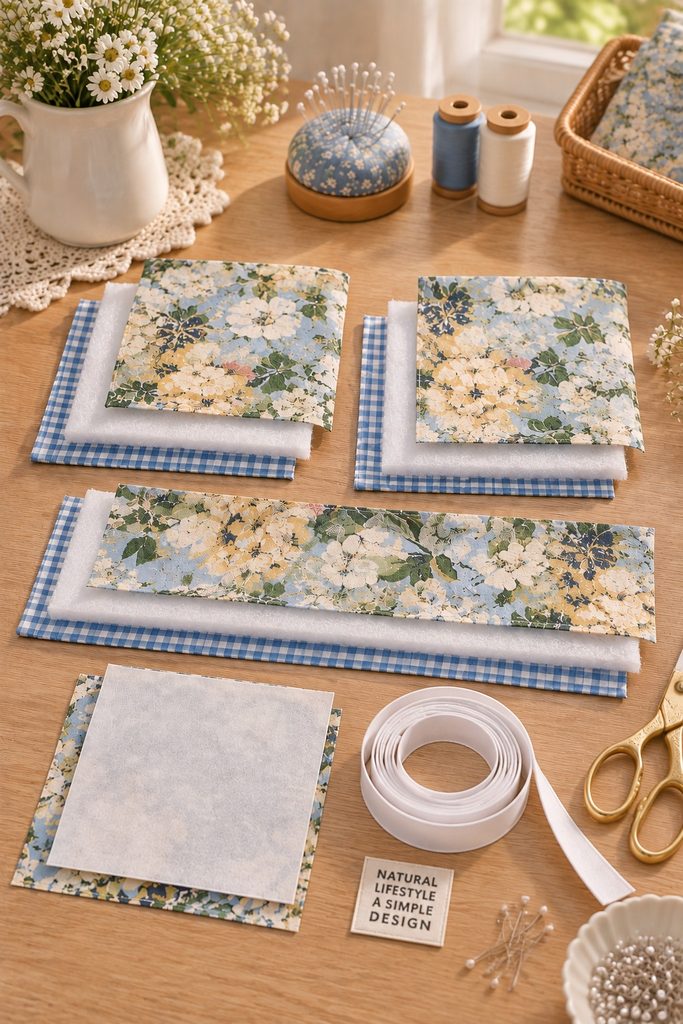
For padding, make a «sandwich» with your three layers in this order: lining (below) → guata (in the middle) → main fabric (above)all of the same size (the square of 30 cm x 30 cm).
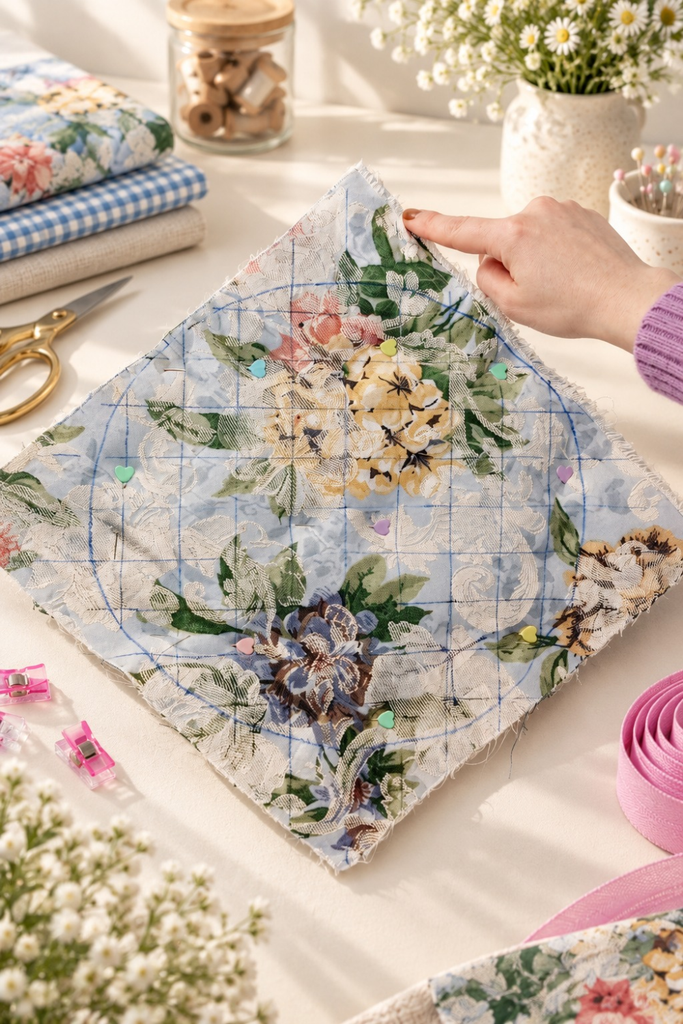
As a recommendation for beginners: on the main fabric, it will mark the lines with a thermal marker (it is erased with the heat of the iron, so there is no trace on the fabric). Trazá paintings of 3 cm — You can do it with straight lines in both directions, or diagonal if you prefer that effect.
Once marked, hold with pins the three layers of the sandwich together, distributing well the pins so that they do not run while seam (especially in the center and corners of the square).
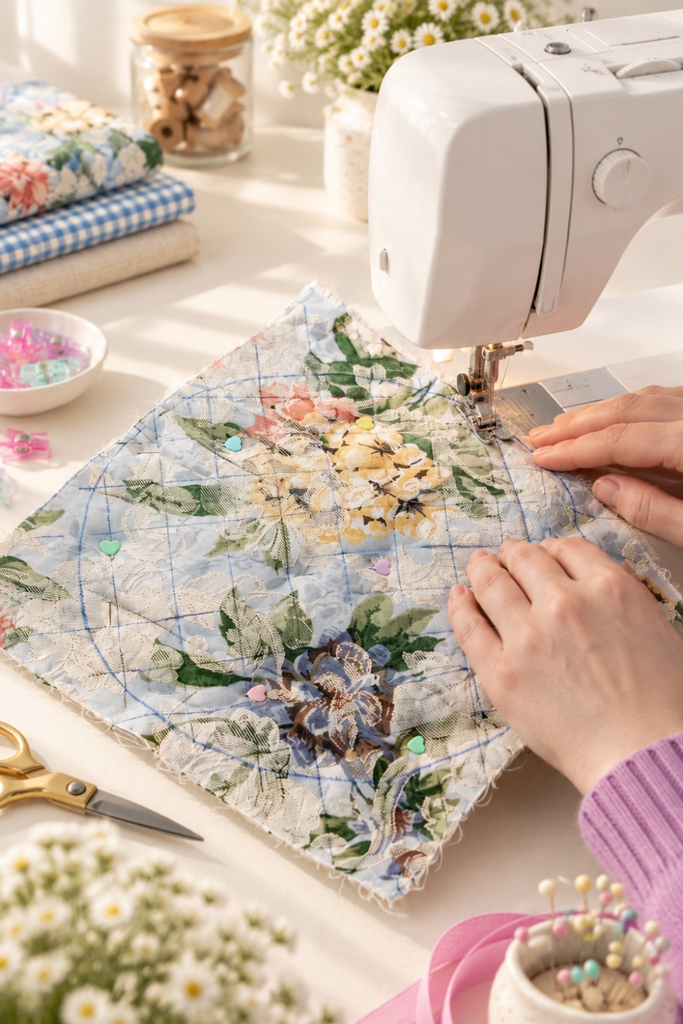
Sew on the lines marked using a wide stitch (increases the stitch length of what you normally use) — This gives a better visual finish to the padding and it's easier to control for those who just start. I repeated this technique in all parts (base, lid and side strip) before moving to the final cut of the circle.
How to sew and join the round pieces
Joining a circle to a straight strip is what costs the most at first, but with this technique you have no wrinkle: I divided the circle and the side strip into 4 equal parts and will mark each point with a pin. I joined those marks with each other before I started sewing, so you repaired the curve well instead of «stretch it» In the end. I sewed slowly, turning the fabric slightly every few centimeters instead of pulling the curve at once.
How to place the zipper per meter
Cut the zipper longer than the circumference of the side strip.
Place the side strip padded with the right upand on it he supports the zipper with his upside down (i.e., the zipper's right remains looking towards the padding). Then, on the back of the zipper, place the lining fabric also with the right down, forming a sandwich: padded (right up) → zipper → lining (right down).
I sewed all three layers together using the zipper / closure presses, glued well against the teeth to be able to sew as close to the edge as possible.
Once sewn that seam, a pespunte close to the edge (on the side of the padded) to accentuate and crush the seam, making the fabric well flat by the zipper and not mounted on the teeth.
I repeated exactly the same procedure on the other side of the zipper, joining the second padded strip and its corresponding lining, with its own pespunte.
To place the sliders (sliding) approximately cut 1 cm of plastic of the teeth at one of the ends of the zipper. This eliminates the initial cap and makes the slider much easier and more prolijo, without forcing or damaging the teeth.
Once you have placed the slider, you can sew an outboard or put a new top on that tip so it doesn't get out.
How to place the bike in circle
I opened the bike and held it with pins around the edge, facing the right of the cloth with the right of the bike. Sew following the first marked fold of the bike.
Bend the bie into the necessary and close with Invisible stitch by hand — This is the technique that best results in a prolijo finish, without the seam being noticed from the outside.
▪ 5 Common errors when sewing a padded round Necesser
1. How to sew a zipper curves without wrinkles
The problem of the routing happens because the zipper tape is straight and rigid, while the padded strip that you are going to sew is curve — When you force the zipper to follow that curve, it tends to wrinkle or «roughing» instead of being flat, and this is even more noticed in fabric padded by the extra volume of the wadding.
How to avoid:
- Don't just turn on only in the 4 point circle guide — in the zipper area you need many more pins or clips, every 2-3 cm approximately, to go distributing the curve from little to little instead of stretching from one point to another.
- When sewing, let it be the padded fabric that accommodates and curves around the zipperNot the other way around. — never pull the zipper tape so that «scope» The curve, because that's what the routing generates.
- If you notice it's frowning while you sew, I made little ones. Picket (small cuts) on the sewing margin of the zipper tape —without touching the teeth— Every few centimeters. This gives extra flexibility to the tape to follow the curve without twisting, just like you make pickets in any curve seam.
- Sand slow and in short sections, stopping every 3-4 cm to reaccommodate the fabric under the needle instead of sewing the whole turn.
- If it's your first time, I made a pass of hilvan (by hand or with long machine stitch) before final seam — So you can detect and correct any fruncido before sewing in final with the zipper presses.
2. How to sew thick and padded fabrics without problems
Use a double-trawled press. In addition to helping you sew together in thick fabrics (because it pushes the fabric from above and below at the same time, preventing the layers from running between them), most bring a built-in guide marker, very useful to keep the distance between lines when you're padding.
Change to a thick cloth needle. A fine needle can be folded or broken by crossing several layers of fabric + wadding, and also generates more loose stitches. Using the right needle (although the change is not seen in the video) makes a big difference in the final prolijity.
Hold well with pins before sewingand spare no amount — in thick and padded fabrics, layers tend to run more with each other than in a fine fabric, so the more clamping points you have, the less risk that they will disalign while you sew.
Slow down the speed of the machine. Sew slower gives you more control to react if the fabric starts to deviate, especially in the curved areas of the need.
3. Hand-held and machine-by-machine bies: which one?
Both techniques are valid, but each has its own requirements. By machine, sewing the bike requires keeping a very precise seam —only 1 mm margin on each side— so that the edge of fabric is not seen uncovered. In one piece curve and padded like this need, that so tight margin is much more difficult to sustain: the extra thickness of the wadding makes the fabric move more under the presses, and any minimum deviation is already noticed.
So, for this particular project, I chose to finish the bike. by hand with invisible stitch. It is a technique that requires more patience and time, but it gives a total control over every inch of the curve, and the result is a much more prolijo and professional finish in thick pieces like this — without the risk of running the 1 mm margin required by the machine.
When does each fit?
By machine: ideal in straight or slightly thick pieces, where it is faster and the margin is easy to keep even.
By hand: recommended in pronounced curves and padded or thick fabrics, such as this need, where you will prioritize the prolijity of the finish over speed.
4. Cut the circle before padding
It is tempting to cut the final shape first, but padding a small circle is much more difficult than padding on the large square of 30 cm — The fabric gets out of your hands and it's easier for the pespunte to be twisted. The correct order is: square → padded → just there cut the circle of 28 cm.
5. Do not cut the plastic tip of the zipper before putting the slider.
If you try to force the slider against the plastic cap without cutting it first, you can damage the teeth or leave the twisted slider. Cut about 1 cm from that tip before inserting it makes it much easier and more prolific.
🎥 Full tutorial video
Look at the full video here: How to make a REDONED NEED | Cora Martz
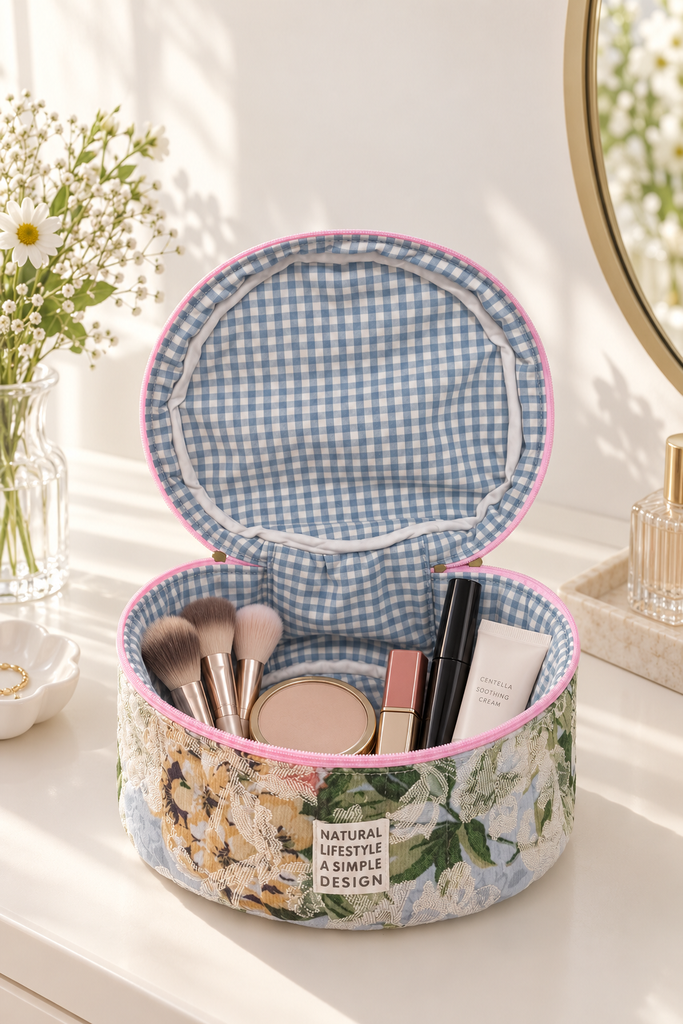
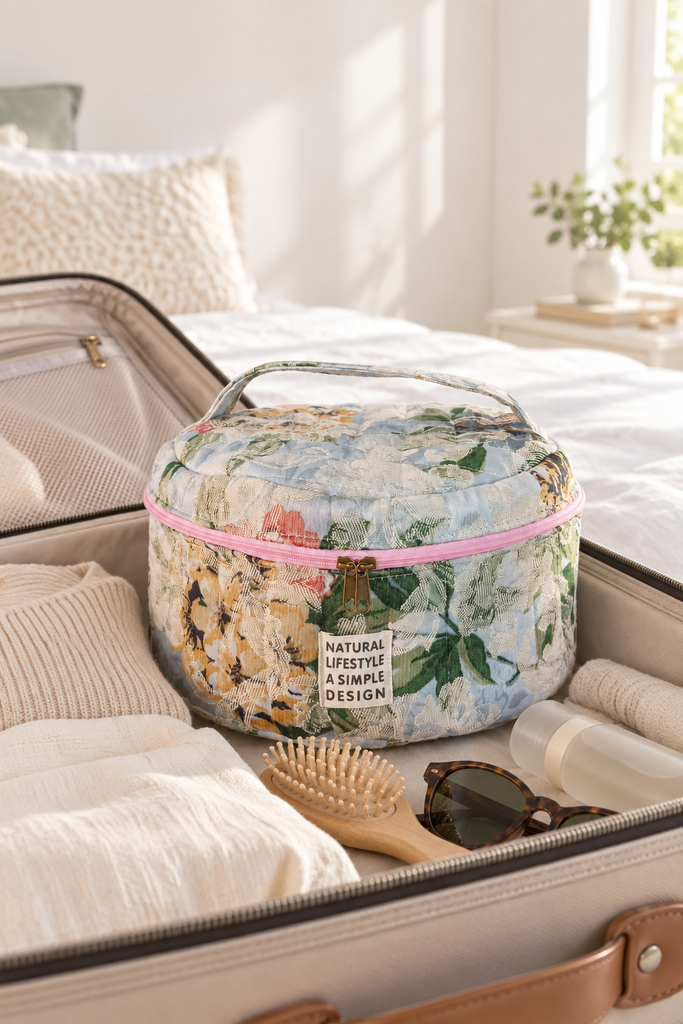
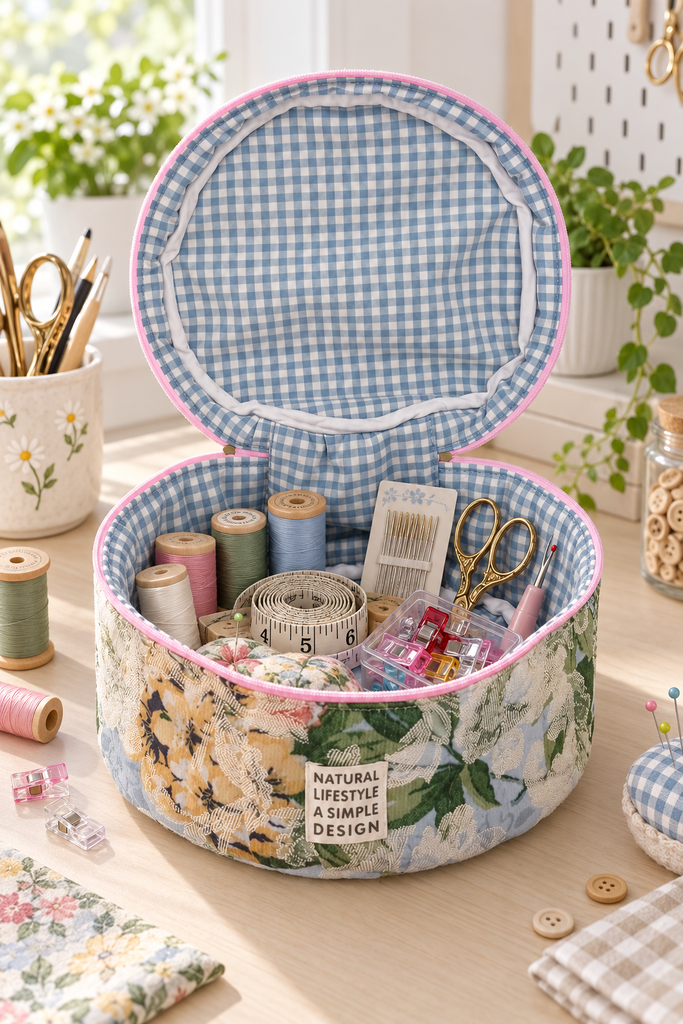
💡 Ideas of Use for Your Necesser
📥 Download the Free Pattern
🧵 Final tips (anchor: tips-final)
🔹 Plate each piece and seam as you advance. With padded fabric, ironing between steps makes a huge difference in the final result — Seats the seams and prevents the wadding volume from generating wrinkles.
🔹 I did a test on a lap before sewing on the good fabric.especially for zipper and bie — So you adjust the machine's tension and the right press without risking your main fabric.
🔹 Personalize yours changing the main stamping according to the occasion (floral for gift, smooth with embroidery initials for personal use, living colors for children) — The same technique serves infinite variants.
Now it's your turn. Show us your need!
📸 I shared your project in networks with the hashtag # Necessred Padded and connect with other people who love creative sewing.
📍 Subscribe to our mailing list for more free tutorials and patterns. ✂️🧷